
Custom Tags
November 15, 2024
Custom Tags can be assigned to documents as a way of categorizing and tracking their contents. For example, an IRS Form 1065 that was completed for a client’s 2023 taxes could be tagged as “1065”, “Tax”, and “2023.” You can then filter the list of files using any of those tags to more easily locate it.
Accessing Custom Tags
You can access Custom Tags via Firm Settings.
- Click Firm Settings.
- Click the Custom Tags tab.
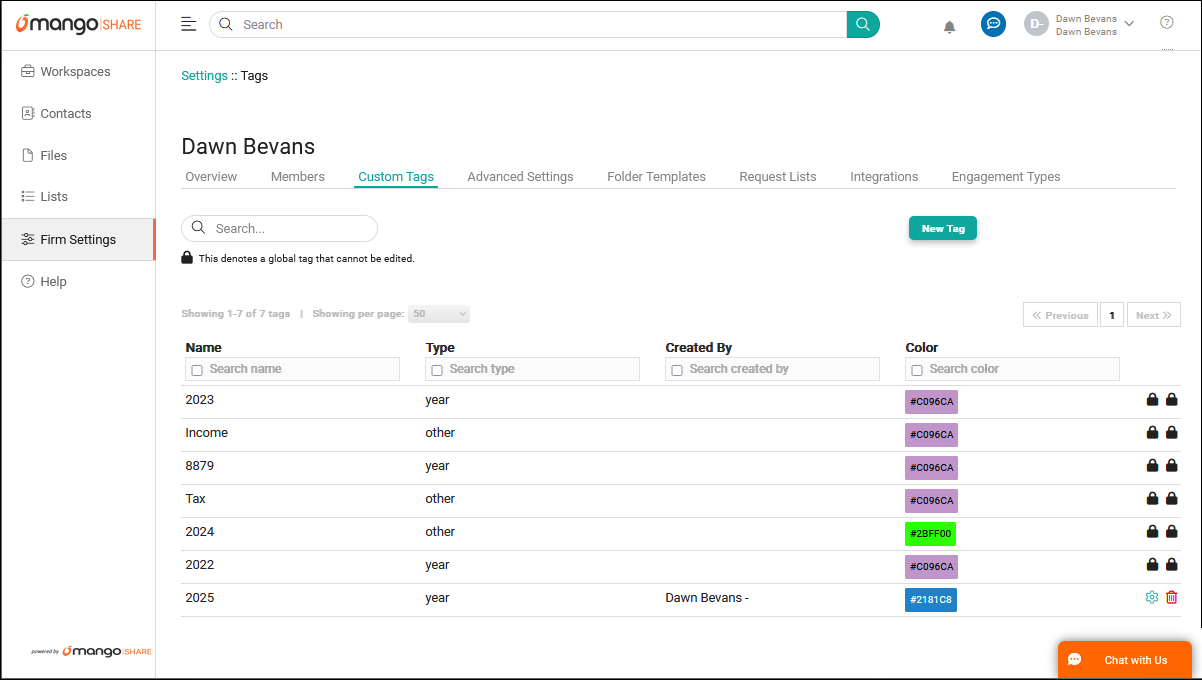
Setting Up Custom Tags
You can select how many Custom Tags are Showing per page in increments of 25, 50, or 100. The << Previous and Next >> buttons can be used to move between pages.
The Search field can be used to locate records containing specific text. To clear the search, delete the text from the field.
You can search for records containing specific text within a column by selecting the check box in the column header and entering the text. To clear the search, clear the check box from the column header.
Adding New Custom Tags
You can add new Custom Tags from the Custom Tags List.
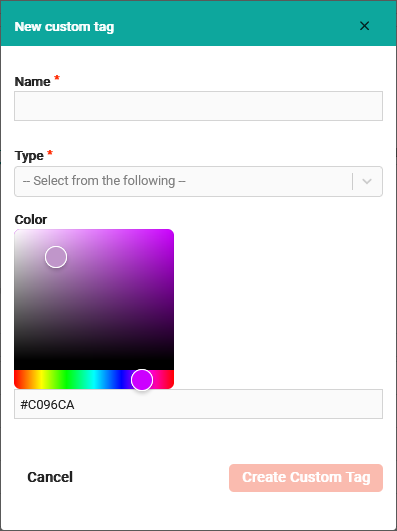
- Click New Tag.
- Enter the Name for the tag.
- Select the Type (Year or Other) and a Color for the tag.
- Click Create Custom Tag.
Editing Custom Tags
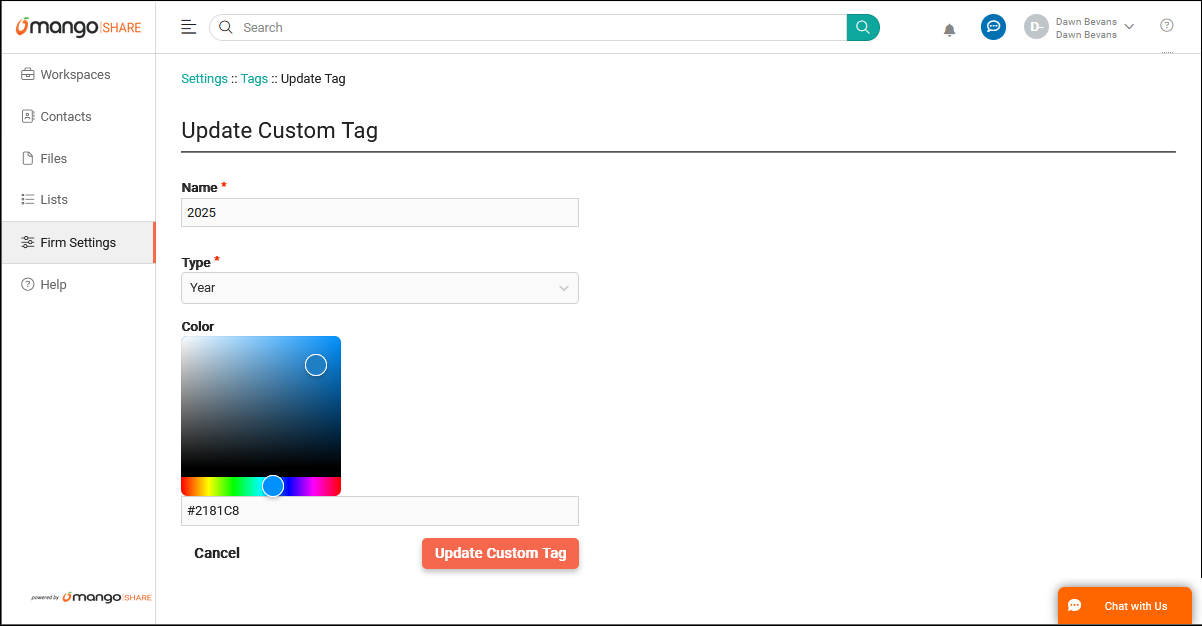
You can edit Custom Tags from the Custom Tags List.
- Click the
 (Update) icon.
 - Make the desired changes.
- Click Update Custom Tag.
Note: Custom Tags with a ![]() (Locked) icon cannot be edited.
(Locked) icon cannot be edited.
Deleting Custom Tags
You can delete Custom Tags from the Custom Tags List.
- Click the
 (Delete) icon.
 - Confirm you want to delete the Custom Tag.
Note: Custom tags with a ![]() (Locked) icon cannot be deleted.
(Locked) icon cannot be deleted.

Assigning Custom Tags to Documents
You can assign Custom Tags to documents via Files or Workspaces.
- Click
 Files.
 - Open the folder for the files to tag.
- In the Tags column, next to the desired document, click Add tag.
- Select your tags, then click out of the drop-down menu.
…or…
- Click
 Workspaces.
 - In the Workspace Name column, click on a client.
- Click the Files tab.
- Open the folder for the files to tag.
- In the Tags column, next to the desired document, click Add tag.
- Select your tags, then click out of the drop-down menu.
See It in Action
Learn More
The following knowledge base articles contain additional information relating to Custom Tags: