
Client Messages List
November 26, 2024
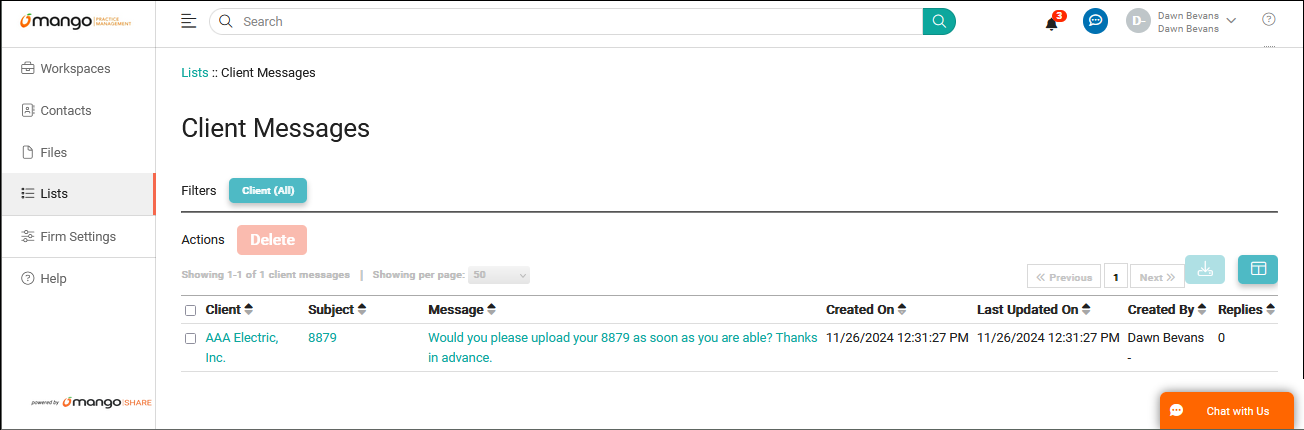
The Client Messages List displays chat communications from your contacts.
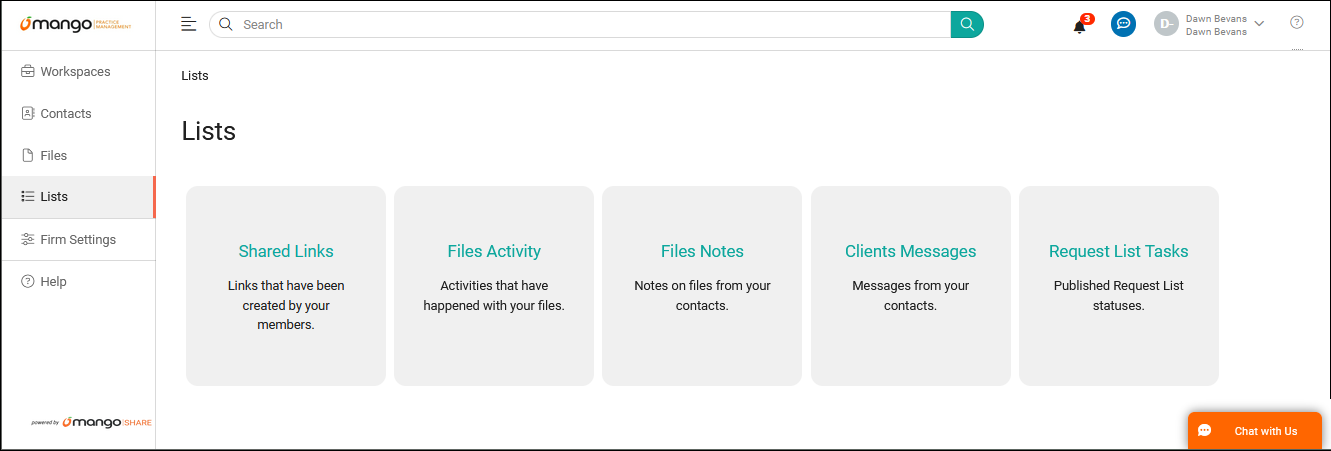
Accessing the Client Messages List
You can access Lists from the menu.
- Click Lists.
- Click Clients Messages.
Using the Client Message List
The Filters section contains a block to filter records to a specific Client. Click on the filter block and select one of the values for that field. To remove the filter, click the filter block and select — All — from the list.
By default, the List shows a limited number of workspaces per page. You can use the << Previous and Next >> buttons or the page number to browse through the records. To see more or fewer results per page, click the Showing per page dropdown. You can choose to display 25, 50, 100, or all records on a single page; note that showing more records on one page can cause delays when loading the list.
If you have permissions to Allow export of data in your Staff Member settings, the ![]() (Download) button can be used to export the current list as a CSV file. This file can be opened in a spreadsheet program, such as Microsoft Excel. Additional information about your settings can be found in the Staff Members article.
(Download) button can be used to export the current list as a CSV file. This file can be opened in a spreadsheet program, such as Microsoft Excel. Additional information about your settings can be found in the Staff Members article.
Some columns in the List are optional. The ![]() (Select Columns to Display) button allows you to optionally select the Client, Subject, Message, Created On, Last Updated On, Created By, and/or Replies column check boxes, which will display these columns. You can also reposition the columns using the
(Select Columns to Display) button allows you to optionally select the Client, Subject, Message, Created On, Last Updated On, Created By, and/or Replies column check boxes, which will display these columns. You can also reposition the columns using the ![]() (Move Up) and
(Move Up) and ![]() (Move Down) icons or remove the column using the
(Move Down) icons or remove the column using the ![]() (Remove) icon.
(Remove) icon.
You can click on the header of many columns to sort the records shown by the values in that column. Click the header again to reverse the sort.
Click in the Client column to open the Workspace for the selected client. Additional information can be found in the Workspace Detail article. Click in the Subject or Message column to open the message history, where you can respond to messages as needed. Additional information can be found in the Messages article.
Adding New Client Messages
You can add new Shared Links from the Workspaces.
- Click Workspaces.
- Click in the Workspace Name column.
- Click Messages.
- Enter your message.
- Click Send.
Information about the Messages window can be found in the Messages and Portal articles.
Deleting Client Messages
- Select the check box next to each message you want to delete.
- Click Delete.
See It in Action
Learn More
The following knowledge base articles contain additional information relating to the Client Messages List: