
Portal
November 27, 2024
MangoShare’s secure portal is one your customers will like and use. Improve your client experience, and make your work easier, by inviting them to access their files, tasks, and documents. With unlimited storage and file size, and a simple folder structure, using the portal is easy and straightforward, even for clients who don’t like technology. And with bank-grade, 256-bit encryption and our advanced firewalls, all files on the Mango servers are secure.
Accessing the Portal
Contacts are invited to the portal from the Contacts or Workspaces window.
- Click
 Contacts.
 - Select the contact(s) and then click Resend Invite.
…or…
- Click
 Workspaces.
 - Click in the Workspace Name column to open the Workspace Details window.
- Click the Contacts tab.
- Click Send Invite or Resend Invite.
Contacts must be assigned to a workspace before inviting them to the portal. For additional information, see the Contacts article.
Using the Portal
Once the contact signs in to the portal, the Dashboard tab is shown. The portal is divided into multiple pages, each accessible via the menu at the top of the screen.

The ![]() (Search Files and Tasks) icon can be used to find files and incomplete tasks assigned to the contact’s workspaces.
(Search Files and Tasks) icon can be used to find files and incomplete tasks assigned to the contact’s workspaces.
The ![]() (Toggle pinned message visibility) icon can be used to toggle whether the banner message is shown at the top of the portal. The message is only shown if the Show a banner message to all Contacts of the Firm Client is enabled on the Advanced Settings tab of Firm Settings. For additional information, see the Advanced Settings article.
(Toggle pinned message visibility) icon can be used to toggle whether the banner message is shown at the top of the portal. The message is only shown if the Show a banner message to all Contacts of the Firm Client is enabled on the Advanced Settings tab of Firm Settings. For additional information, see the Advanced Settings article.
The ![]() (Notifications) icon displays a value when an unseen notification or message has been received, along with a count of unseen items. Click the icon to see a list of notifications, and then click the notification to open the file preview or message.
(Notifications) icon displays a value when an unseen notification or message has been received, along with a count of unseen items. Click the icon to see a list of notifications, and then click the notification to open the file preview or message.
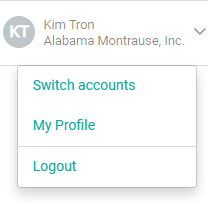
Clicking on the contact’s name provides access to a menu that allows them to switch accounts, access their profile, or log out of the portal. The workspace they are currently viewing is displayed below their name. For additional information, see the My Profile topic.
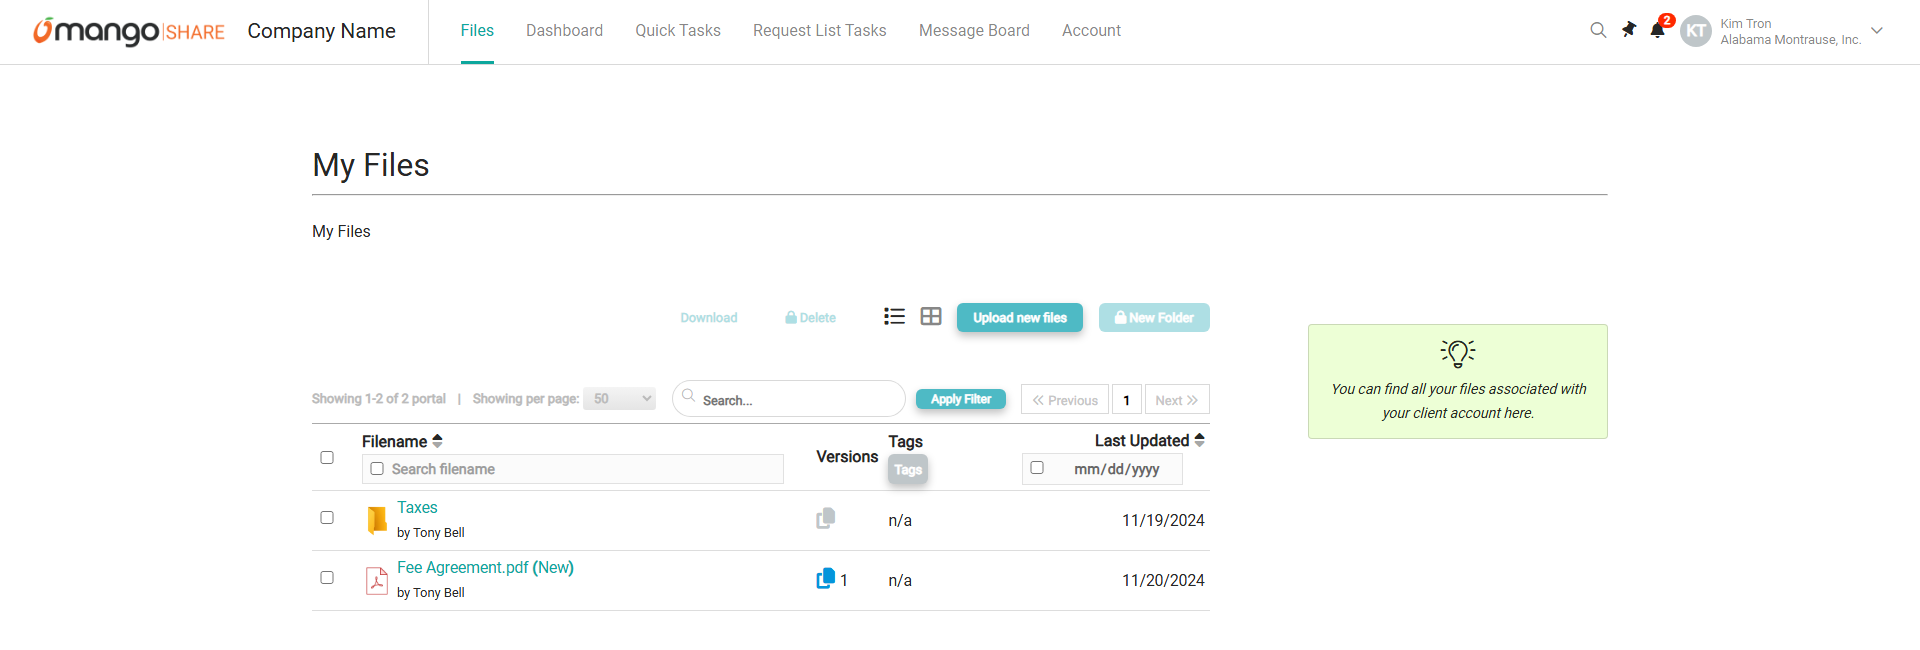
Files
The Files tab of the portal displays a list of files and folders that the contact has access to.
The ![]() (List) and
(List) and ![]() (Tile) icons can be used to toggle between a list of files and folders and icons for each file and folder.
(Tile) icons can be used to toggle between a list of files and folders and icons for each file and folder.
The Upload new files button can be used to add one or more files to the workspace. Select the file(s) in the Drop files here or click to upload field, optionally click Select Folder and select where to upload to (by default, files will be added to the current folder), and click Upload & save.
The New Folder button can be used to add a folder to the current list. Enter the Folder Name and click Save. This button requires the Allow Contacts to Create New Folders option to be enabled on the Advanced Settings tab of Firm Settings. For additional information, see the Advanced Settings article.
The Search field can be used to locate files and files containing specific text in the Filename column. Enter a value and click Apply Filter to restrict the list to matching files and folders. To clear the search, delete the text from the field and click Apply Filter.
Search for records containing specific text within the Filename, Tags, or Last Updated columns by selecting the check box in the column header and entering the text. To clear the search, clear the check box from the column header.
By default, the list shows a limited number of files and folders per page. Contacts can use the << Previous and Next >> buttons or the page number to browse through the records. To see more or fewer results per page, click the Showing per page dropdown. You can choose to display 25, 50, 100, or all records on a single page; note that showing more records on one page can cause delays when loading the list.
Click on the header of the Filename or Last Updated columns to sort the records shown by the values in that column. Click the header again to reverse the sort.
In the Filename column, click on any of the folders to see a list of files in that folder. Click on any of the files to view a preview of the file. For additional information, see the File Preview article.
When File Versioning is enabled on the Advanced Setting tab of Firm Settings, a Versions column is shown. The ![]() (Versions) icon is shown when multiple files with the same name are uploaded to the same folder. Click this icon to see a list of file versions. Click the Date Uploaded column to view that version in the File Preview window.
(Versions) icon is shown when multiple files with the same name are uploaded to the same folder. Click this icon to see a list of file versions. Click the Date Uploaded column to view that version in the File Preview window.
Finally, select one or more records in the List to display the Batch Options. These options will perform actions on all selected records.
- Click Download to download a copy of the selected files and folders. When downloading a folder, the folder and its contents will be downloaded as a ZIP archive. This file can be unzipped by right-clicking on the ZIP archive and selecting Extract All, or using a separate extraction utility.
- Click Delete to archive all selected files and folders. This button requires the Allow Contacts to Delete Files option to be enabled on the Advanced Settings tab of Firm Settings. For additional information, see the Advanced Settings and Archiving articles.
For additional information, see the Files Overview topic.
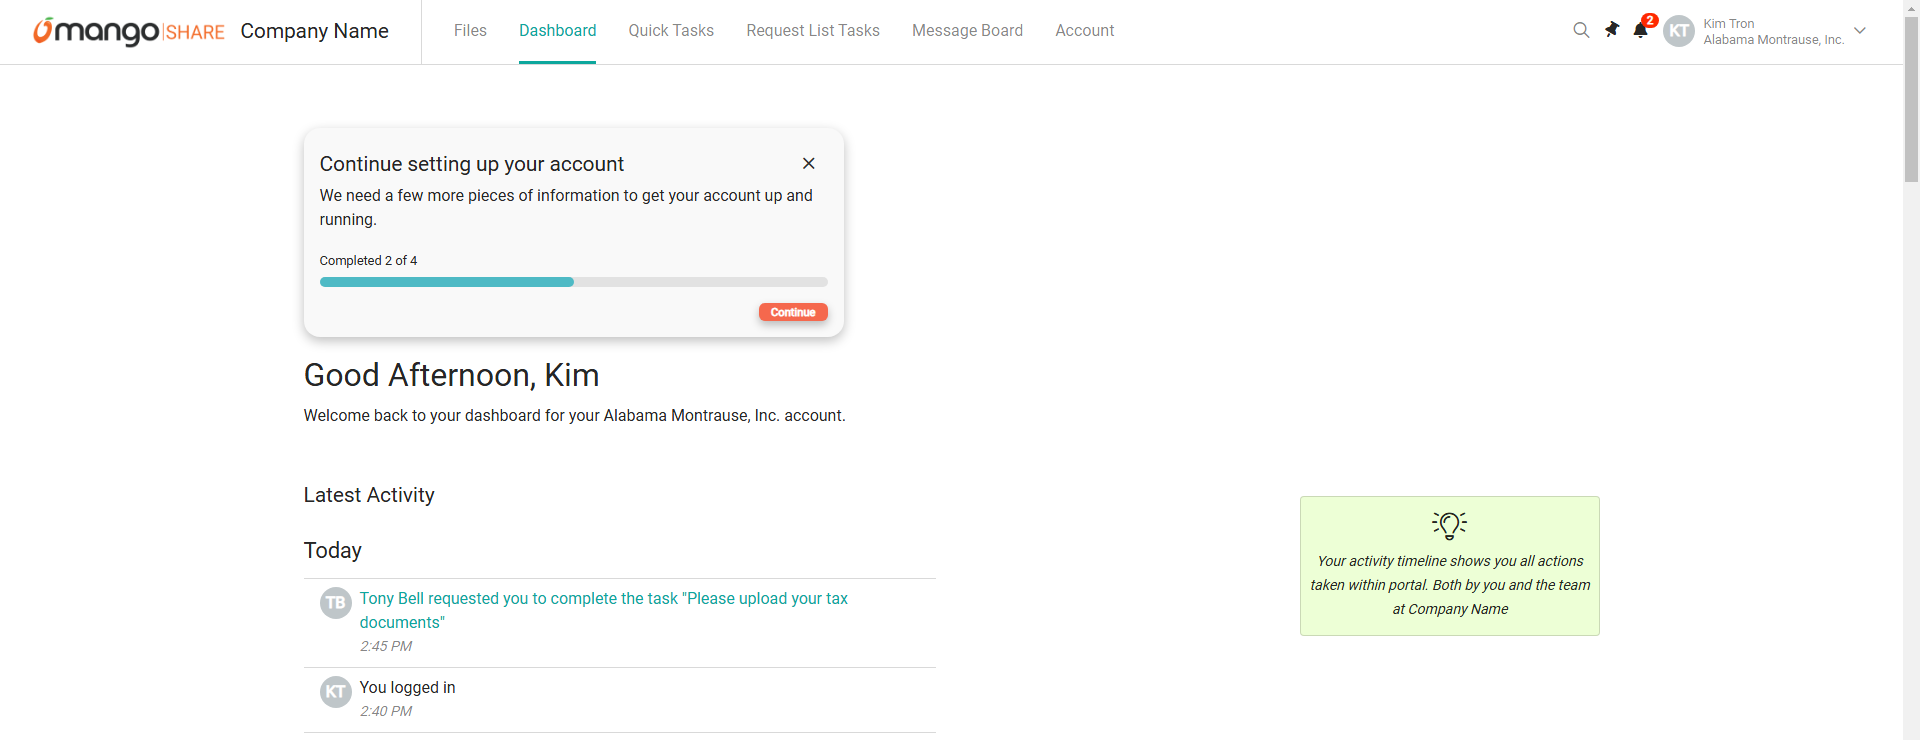
Dashboard
The Dashboard tab of the portal shows a list of activity for the client, including when file links are sent, when links are accessed, logins to the portal, and more.
Quick Tasks
The Quick Tasks tab of the portal shows a list of assigned tasks and their current status.
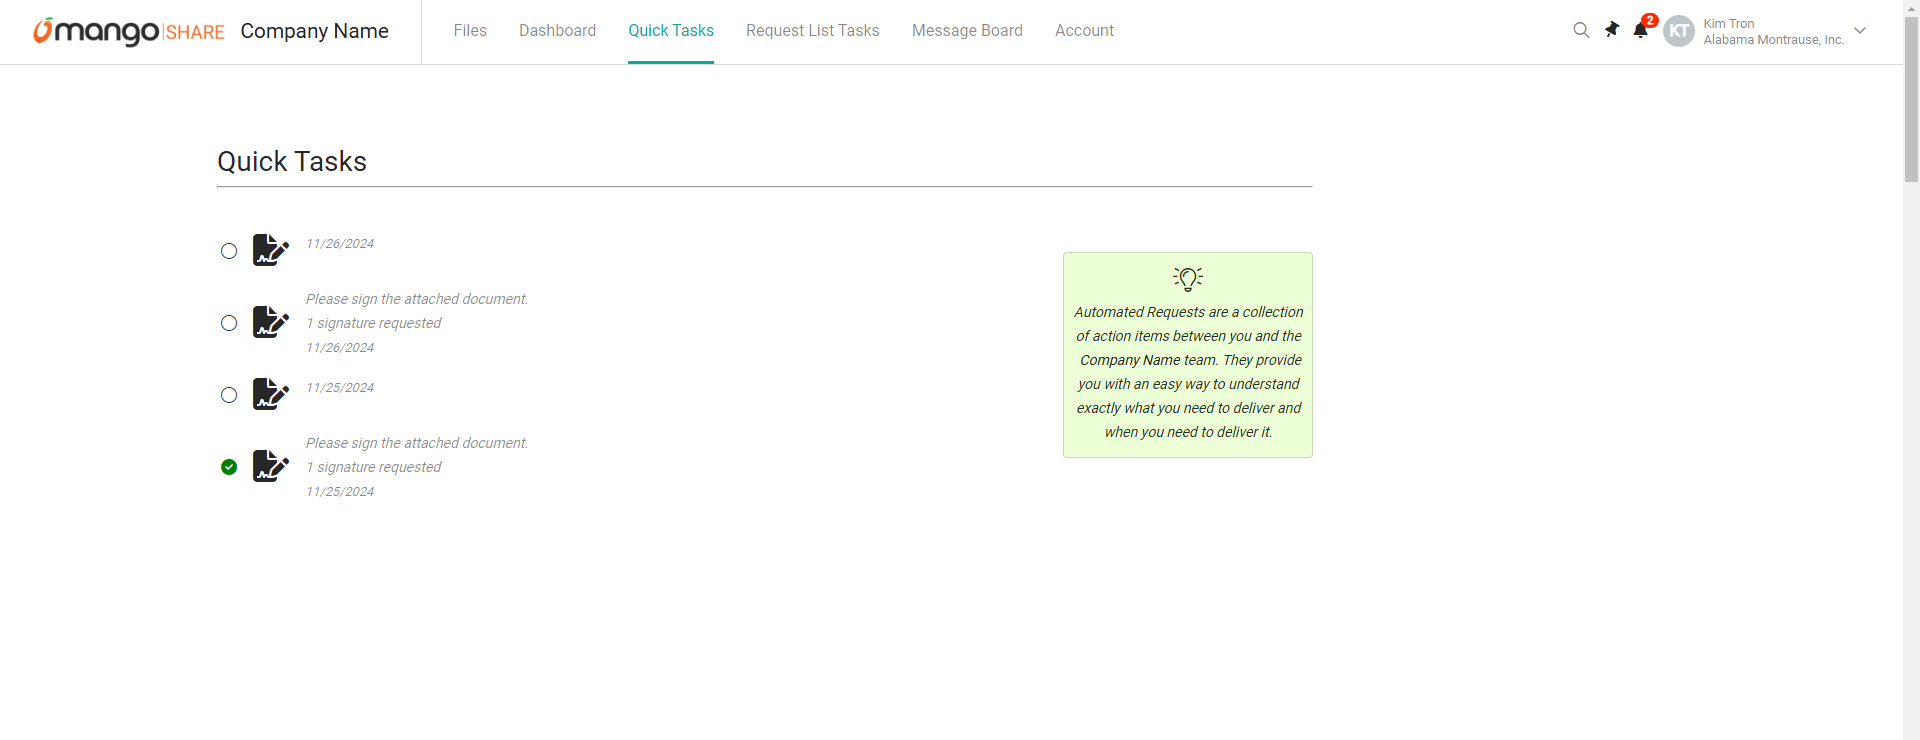
Click on any of the tasks to open the associated request, similar to opening it from an email link. For additional information about requests, see the Overview of File Links article.
Request List Tasks
The Request List Tasks tab of the portal shows a list of assigned tasks and their current status.
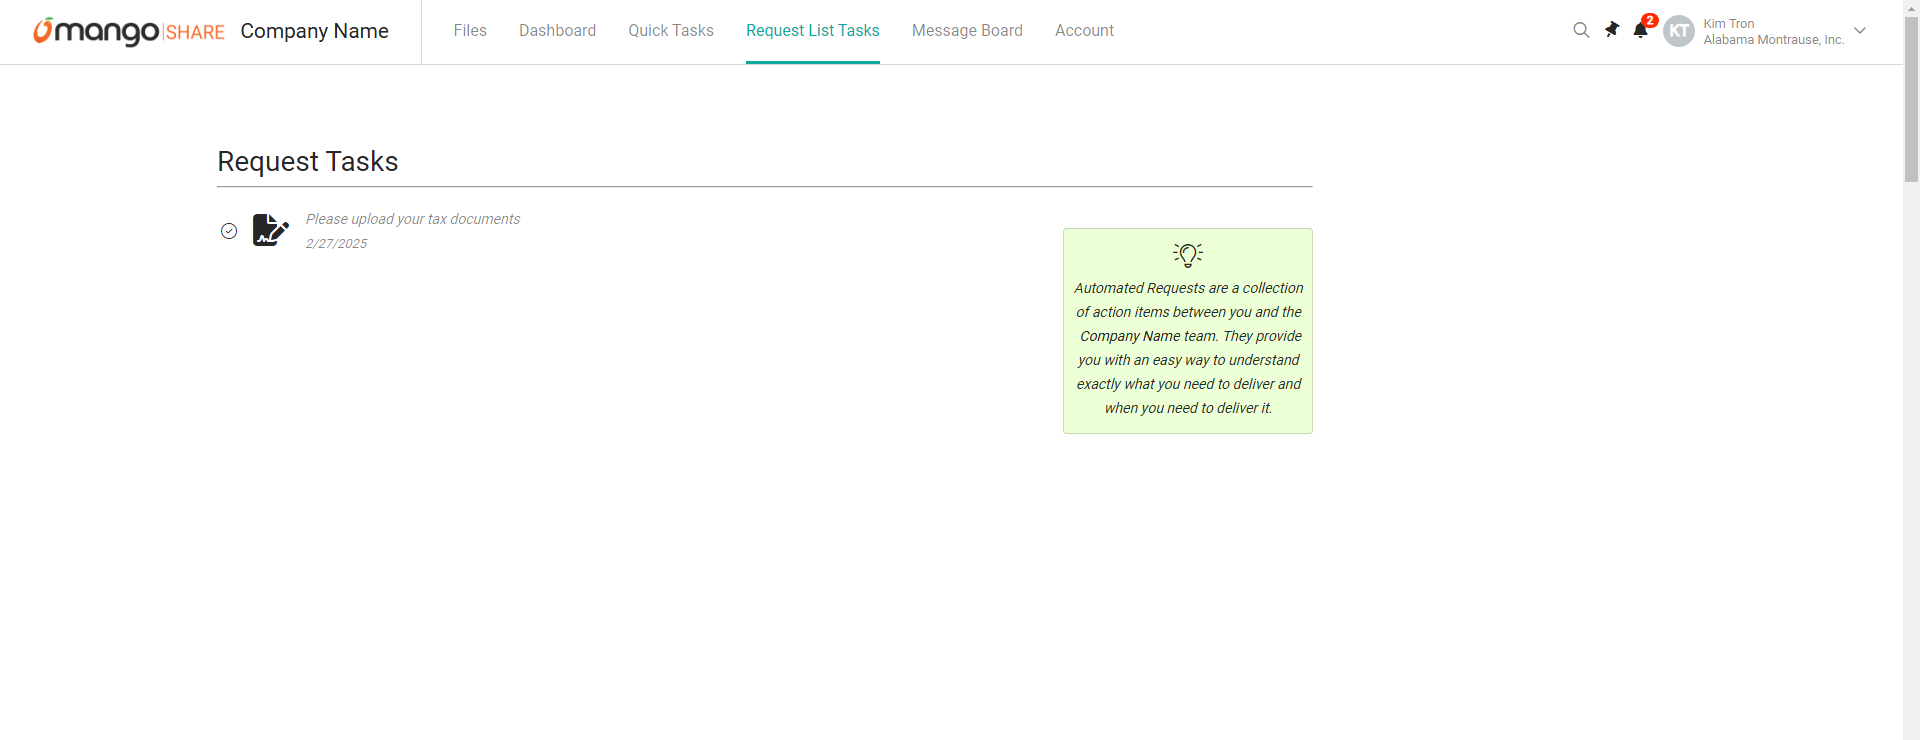
Click on the task to view its status and details. To add a document, select the file(s) in the Drop files here or click to upload field. When the task is complete, click Submit.
Message Board
The Message Board tab of the portal allows contacts to send a message to the firm, as well as shows a list of recent messages sent to or received from the firm.
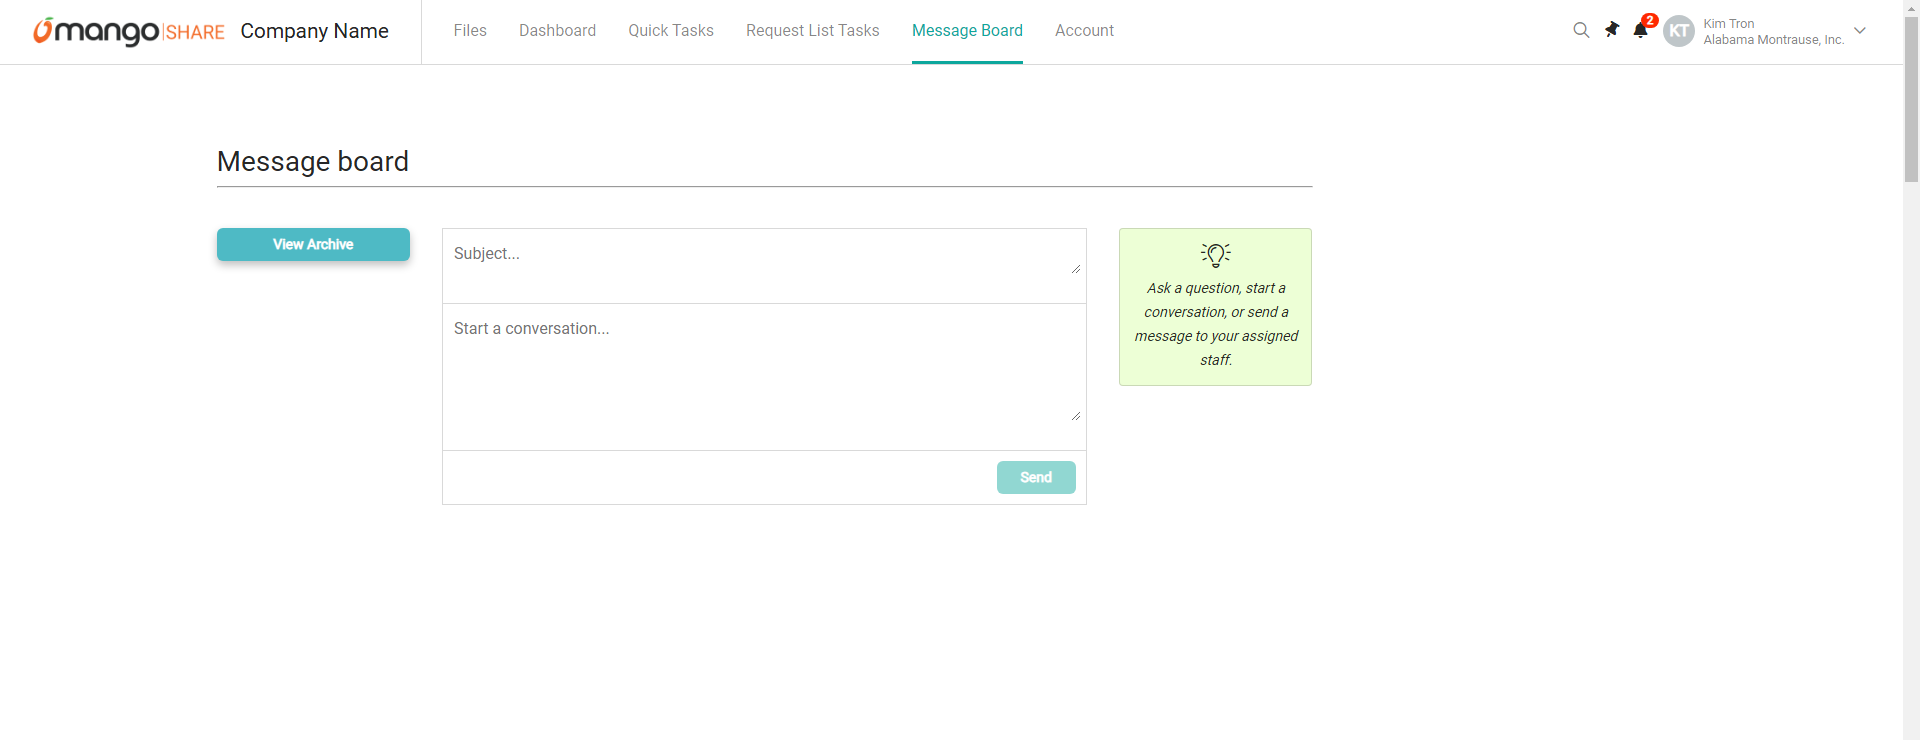
Additional information about messages can be found in the Messages article.
Account
The Account tab of the portal shows information about the client, associated staff and contacts, and the contact’s settings.
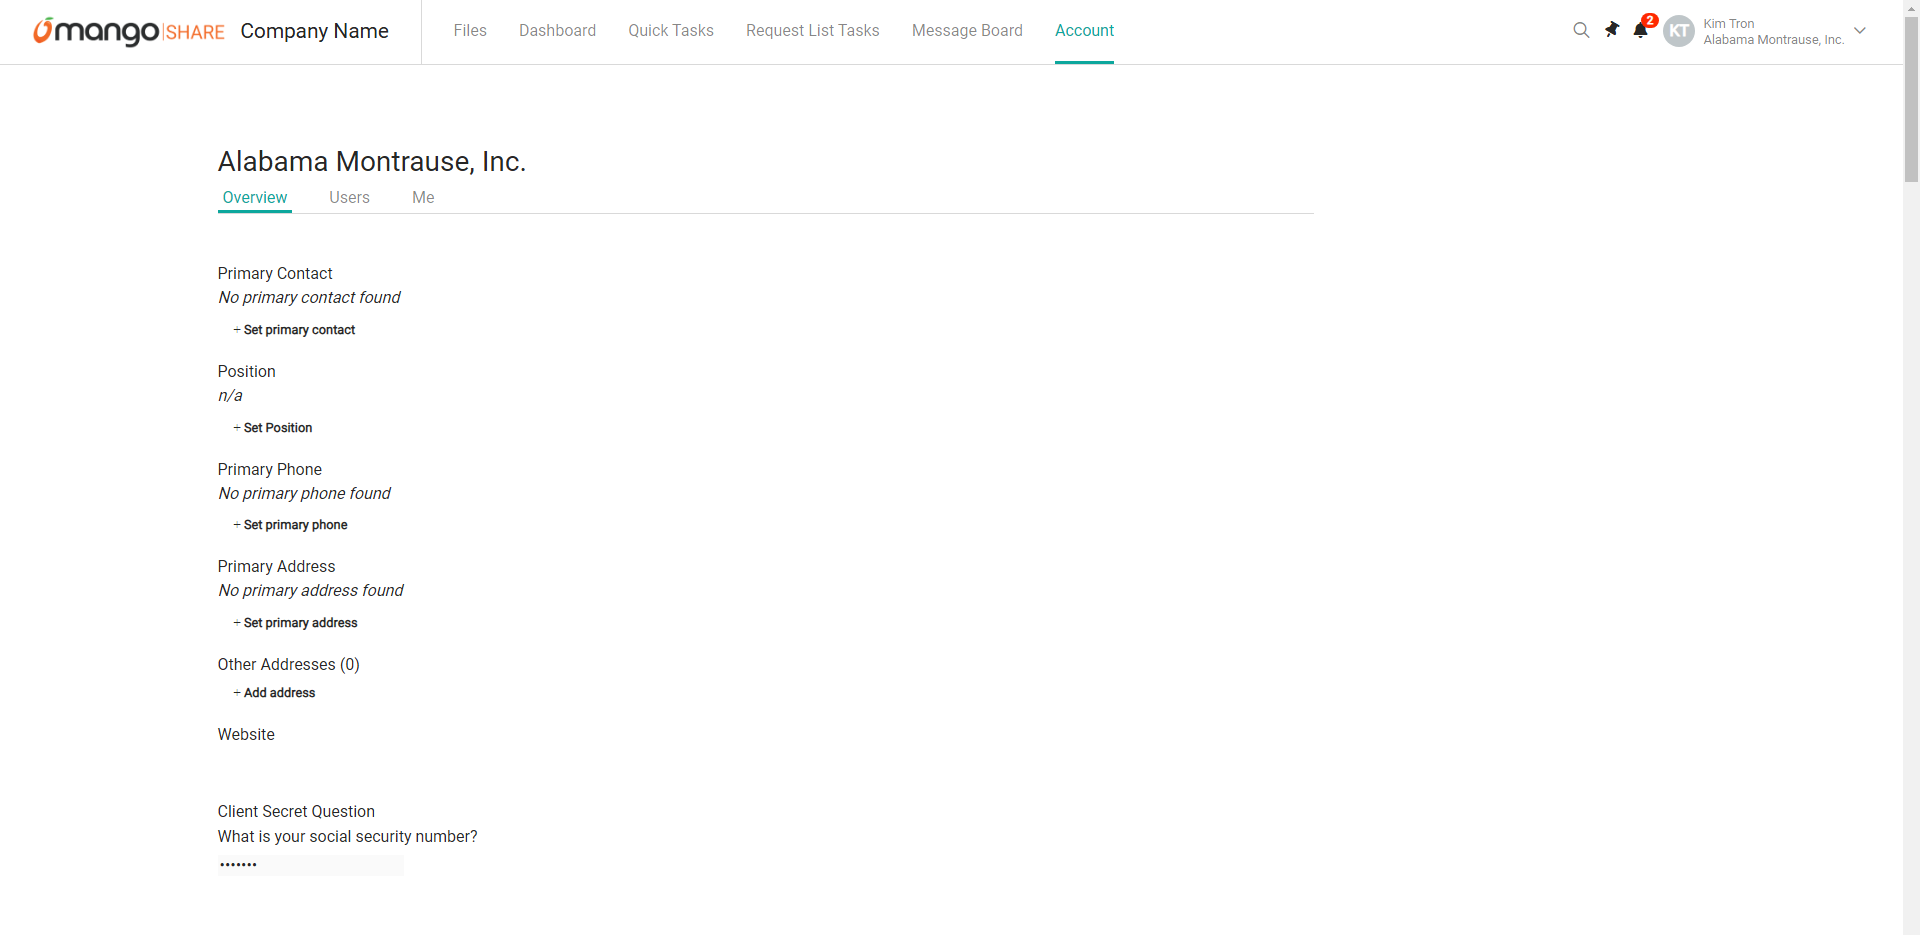
On the Overview tab, the client’s Primary Contact, Position, Primary Phone, Primary Address, Other Addresses, Website, and the Client Secret Question setting are displayed. If any of the values are not configured, click + Set to specify a value and then click Update. To change the Client Secret Question, click Edit and then specify a new Shared question and Shared answer, then click Save.
On the Users tab, each contact user and visible staff member associated with the client are shown. Visibility of staff members can be toggled on the Assigned Staff tab of the Workspace Details window. For additional information, see the Assigned Staff article.
On the Me tab, the Shared Secret Question is shown. To change the Shared Secret Question, click Edit and then specify a new Shared question and Shared answer, then click Save.
Common Questions About the Portal
- How can I send (or resend) an invitation to access the MangoShare portal?
- Open the contact details to send the invitation.
- Click the Contacts or Workspaces
- Click the Contact, or click the Workspace Name and then the Contacts
- Click Send Invite or Resend Invite.
- Click the
- My contact did not receive the invitation from MangoShare, or it was marked as spam. What can we do to prevent this?
- Occasionally, email messages coming from MangoShare are incorrectly marked as spam. To make sure they are delivered, have your clients whitelist “no-reply@MangoShare.io” in their email application. Use the following steps to do this using Microsoft Outlook:
- Right-click in your email list, point to Junk, and select Junk E-mail Options.
- On the Safe Senders tab, click Add.
- Enter “no-reply@MangoShare.io” and click OK.
- Click OK to close the Junk Email Options window.
If they use another email application, or if their email is filtered by their service, they may need to contact their email provider for steps to whitelist email addresses.
- A file that I want the contact to review is not shown in the portal. How can I fix this?
- Verify that the file is visible in the Workspace.
- Click Workspaces.
- Click the Workspace Name.
- On the Files tab, toggle the Visibility column (eye icon) to
 (Visible).
- Click
See It in Action
Learn More
The following knowledge base articles contain additional information relating to the Portal: