
File Preview
November 20, 2024
Files can be accessed from a clients workspace, the Files menu, or a search. Clicking on a file opens the preview window, which provides a view of the file as well as additional information about the file.
Accessing Files
You can access the File Preview by clicking on any file link.
Using the File Preview
The file preview is divided into a header, a preview of the file, and a side pane.
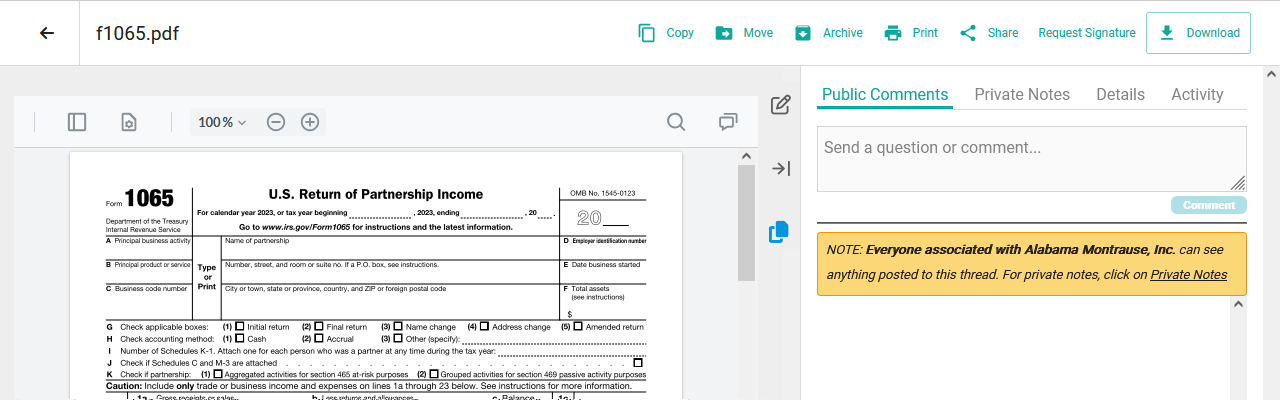
Header
The header shows the name of the file and the following buttons:
- Click
 Copy to make a copy of the current file.
 - Click
 Move to move the current file.
 - Click
 Archive to archive the current file. For additional information, see the Archiving article.
 - Click
 Print to print the current file.
 - Click
 Share to send a link that allows recipients to access the current file. For additional information, see the Overview of File Links article.
 - Click Request signature to send a link that allows recipients to electronically sign the current document, and then return the completed document to you. If you do not have permissions to E-Signature Access, this button will be disabled. For additional information, see the Overview of File Links and Staff Members articles.
- Click
 Download to download a copy of the current file.
Preview
The preview section displays the file, with a toolbar that includes the following buttons:
- Click
 (Navigation Panel) to display a pane with thumbnails and outlines of the document.

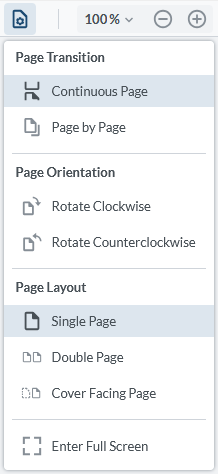
- Click
 (View Settings) to display a menu to control pagination options.
- The zoom controls (
 ) allow you to increase or decrease the display size of the preview. Select an option from the dropdown list, or click + or – to adjust the zoom.
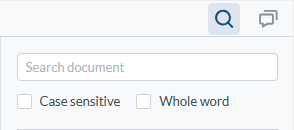
 - Click
 (Search) to display a pane with document search options.
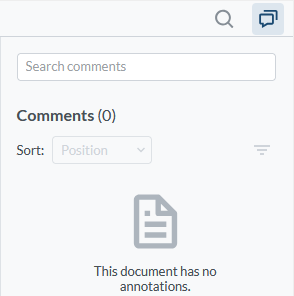
- Click
 (Comments) to display a pane with document comments.
If Enable PDF Editing (using PDFtron) is enabled on the Advanced Settings tab of Firm Settings, an ![]() (Edit) icon will be shown to the right of the toolbar when previewing a PDF file. Click this button to display additional PDFtron options on the toolbar. Additional information can be found in the Advanced Settings article.
(Edit) icon will be shown to the right of the toolbar when previewing a PDF file. Click this button to display additional PDFtron options on the toolbar. Additional information can be found in the Advanced Settings article.
![]()
The following buttons are added:
- Click
 (Pan) to allow the mouse to pan and scroll the document.
 - Click
 (Select) to allow the mouse to select contents within the document.
 - Click
 (Save) to update the document with any changes.
The following tabs are displayed:
- The View tab displays the document with no additional options.
- The Annotate tab displays an additional toolbar that allows highlighting, notes, and other inline annotations to the document.

- The Shapes tab displays an additional toolbar that allows inserting lines and shapes into the document.

- The Insert tab displays an additional toolbar that allows adding stamps, signatures, images, and other files into the document.

- The Edit tab displays an additional toolbar that allows cropping and snipping of the document.

- The Fill and Sign tab displays an additional toolbar that allows inserting of signatures and interactive elements (like checkboxes) into the document.

- The Forms tab displays an additional toolbar that allows inserting interactive elements (such as checkboxes, menus, and signatures) into the document.

Pane
The side pane contains tabs for Public Comments, Private Notes, Details, and Activity. Click the ![]() (Collapse) icon to hide the side pane. While collapsed, the
(Collapse) icon to hide the side pane. While collapsed, the ![]() (Expand) and
(Expand) and ![]() (Comments) icons are shown. Click either icon to display the side pane.
(Comments) icons are shown. Click either icon to display the side pane.
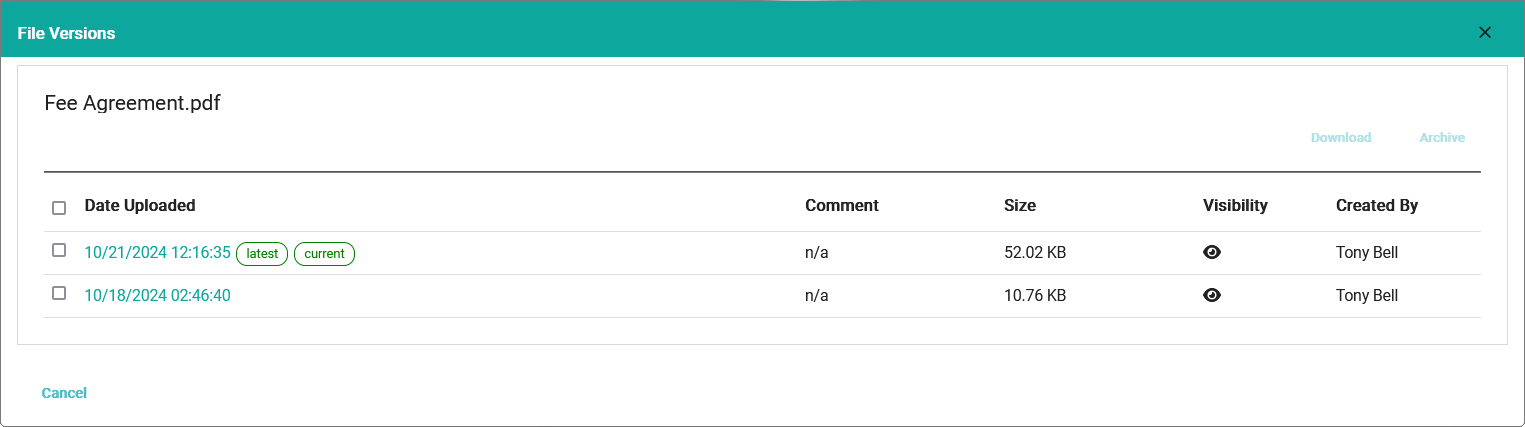
When File Versioning is enabled on the Advanced Setting tab of Firm Settings, click the ![]() (Versions) icon to see a list of file versions. Click the Date Uploaded column to view that version in the File Preview window. Click the eye icon in the Visibility column to toggle whether the file is visible (
(Versions) icon to see a list of file versions. Click the Date Uploaded column to view that version in the File Preview window. Click the eye icon in the Visibility column to toggle whether the file is visible (![]() ) or hidden (
) or hidden (![]() ) in the portal. Select one or more file versions to Download or Archive the selected file versions. For additional information, see the Advanced Settings, File Preview, Portal, and Archiving articles.
) in the portal. Select one or more file versions to Download or Archive the selected file versions. For additional information, see the Advanced Settings, File Preview, Portal, and Archiving articles.
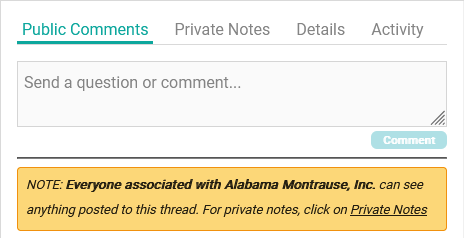
The Public Comments tab allows you to add text for the client. Enter text and click Comment to add the comment to the file. A notification will be sent to the client, and they can respond (if necessary) via the portal. Any previous communication with the client will be shown below the comment field.
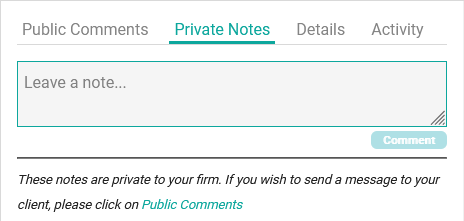
The Private Notes tab allows you to add text that only other staff members can see. Enter text and click Comment to add the note to the file. Any previous notes will be shown below the comment field.
The Details tab includes information about the file.
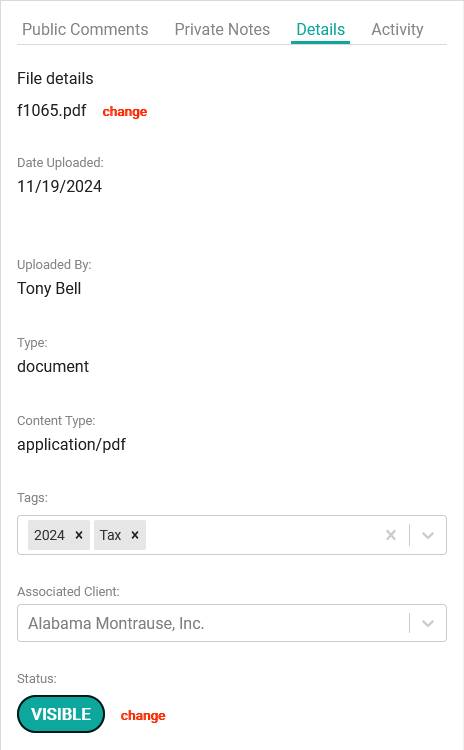
The following fields are shown:
- File Name – The name of the file is displayed. Click change to make the file name editable. Update the name of the file and click Save to rename it.
- Date Uploaded – The date the file was added to the workspace is shown.
- Uploaded By – The staff member that added the file is shown.
- Type – The file type (e.g., document, image, etc.) is displayed.
- Content Type – The document extension information is displayed. This can be useful in determining which application can be used to open a file.
- Tags – Any tags applied to the file are shown. Click the field to show a list of available tags. Optionally click on any of the tags in the list to apply it to the file. Click
 (Remove) to remove an applied tag from the file. For additional information, see the Custom Tags article.
 - Associated Client – The workspace where the file is stored is shown. Click the field to show a list of available workspaces. Select another workspace to move the file to that workspace.
- Status – The status (Visible, Hidden, or Archived) is shown. Click change to make the status editable. Select the status and click Save to update the file.
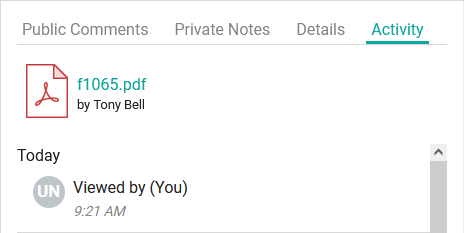
The Activity tab displays a list of activity on the file or folder, including when they were created, when file links are sent, when links are accessed, when visibility was changed, and more.
See It in Action
Learn More
The following knowledge base articles contain additional information relating to File Preview: