
Workspace Detail
November 15, 2024
Changes to a specific client’s workspace is performed by clicking on the client’s name in the Workspaces list, or from the Search results.
Accessing a Client’s Workspace
You can access the Workspace detail window from the Workspaces list.
- On the menu, click
 Workspaces.
 - Click the link in the Workspace Name column.
Information about the Workspaces list can be found in the Workspaces Overview article.
Using Workspace Details
The Workspace Details window is divided into ten tabs: Overview, Files, Request Lists, Quick Tasks, Links, Notifications, Contacts, Assigned Staff, Activity, and Messages.
Overview
The Overview tab includes general information about the client.
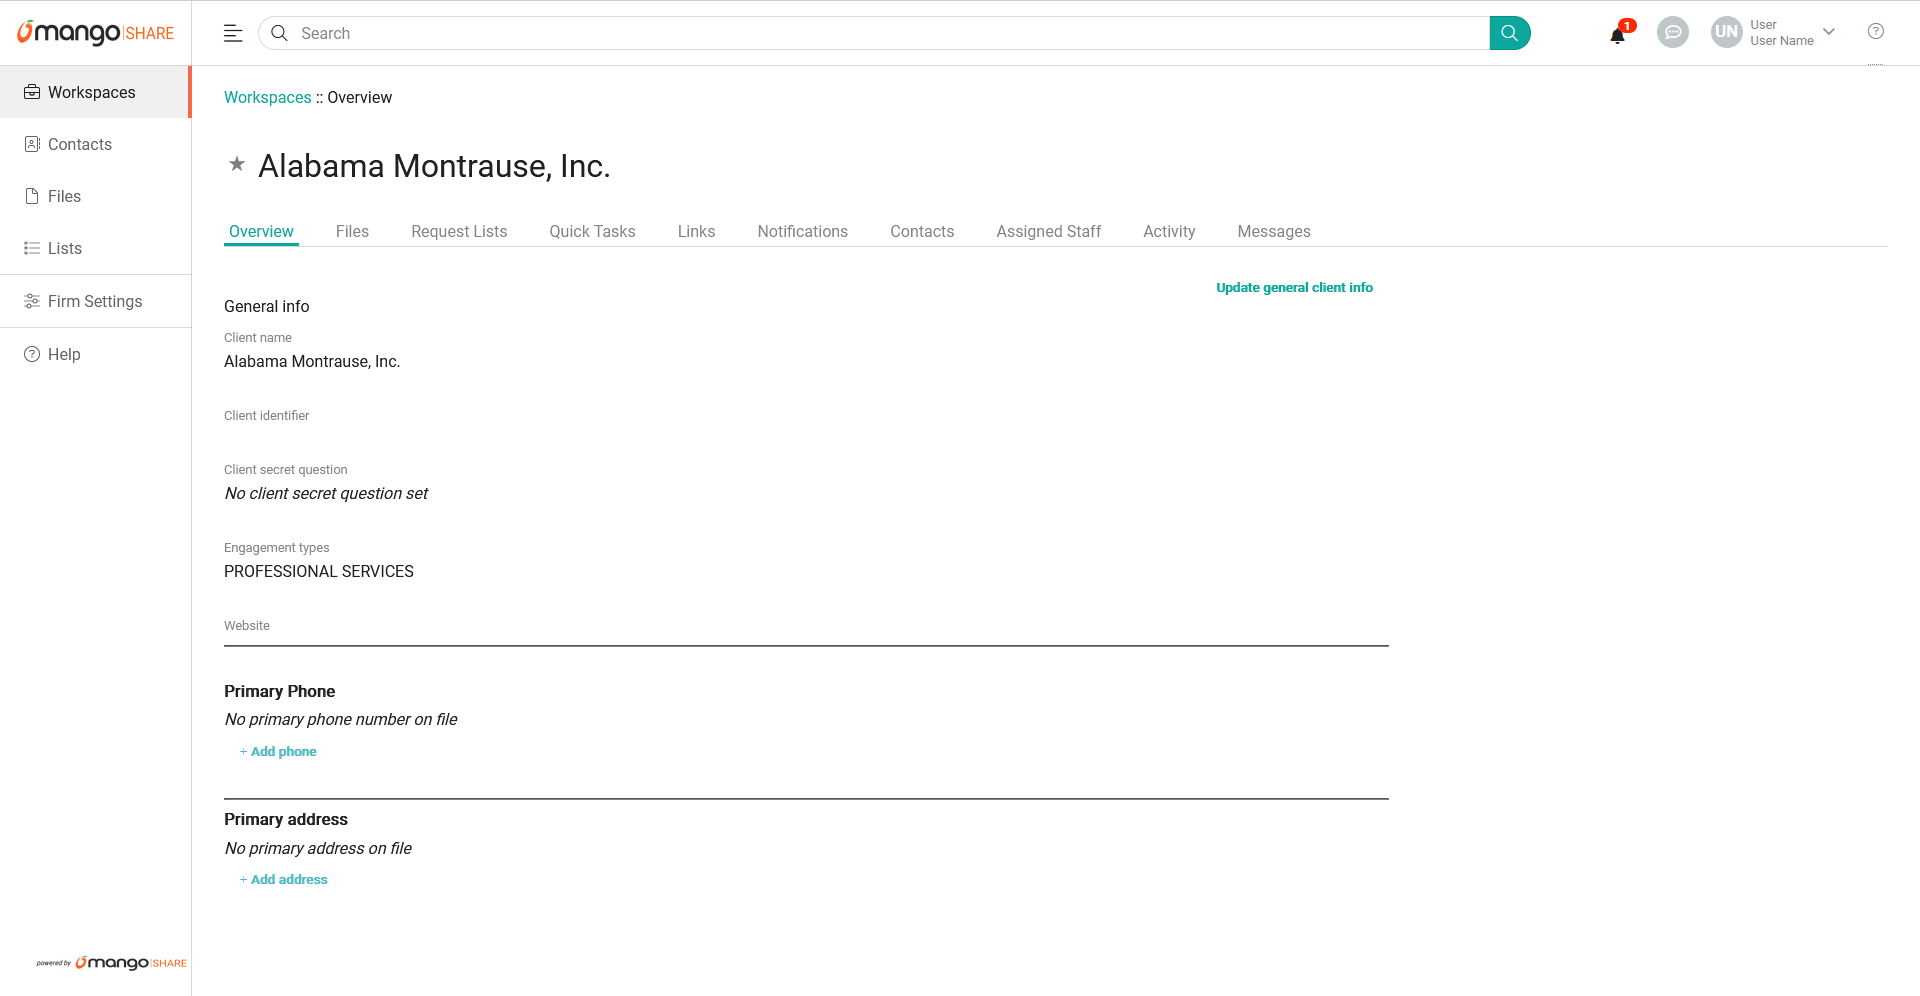
The Client name, Client identifier, Client secret question, Engagement types, and Website are shown here. To edit these fields:
- Click the Update general client info
- Optionally edit the contents of the Client name, Client identifier, or Website
- Optionally specify a Shared question and Shared answer, which can be used when sending file links to the client. For more information, see the Overview of File Links article.
- Optionally click the
 (Include) icon next to Engagement types to select them. To remove an engagement type, click the (Remove) icon. For more information, see the Engagement Types article.
 - Click Save.
You can optionally specify a primary phone number and multiple additional phone numbers.
To add a phone number
- Click + Add phone.
- Optionally specify a Type (Mobile, Home, Work, Main, Home Fax, Work Fax, Other Fax, Other).
- Specify the Phone Number field.
- Optionally specify the Ext field.
- Click Add Phone Number.
The new phone number will be saved under Additional numbers.
To change a phone number
- Hover the mouse over the address to show the Edit, Delete, and Set as Primary links.
- Click Set as Primary to replace the Primary phone number with the current one.
…or…
Click Edit to make changes to the phone number.- Update the Phone Number, and Ext fields.
- Click Update.
You can also optionally specify a primary address and multiple additional addresses.
To add an address
- Click + Add address.
- Specify the Street Address, Unit, City, State, Postal Code, and Country fields.
- Click Add Address.
The new address will be saved under Additional addresses.
To change an address
- Hover the mouse over the address to show the Edit and Make Primary links.
- Click Make Primary to replace the Primary address with the current one.
…or…
Click Edit to make changes to the address.- Update the Street Address, Unit, City, State, Postal Code, and Country fields.
- Click Update.
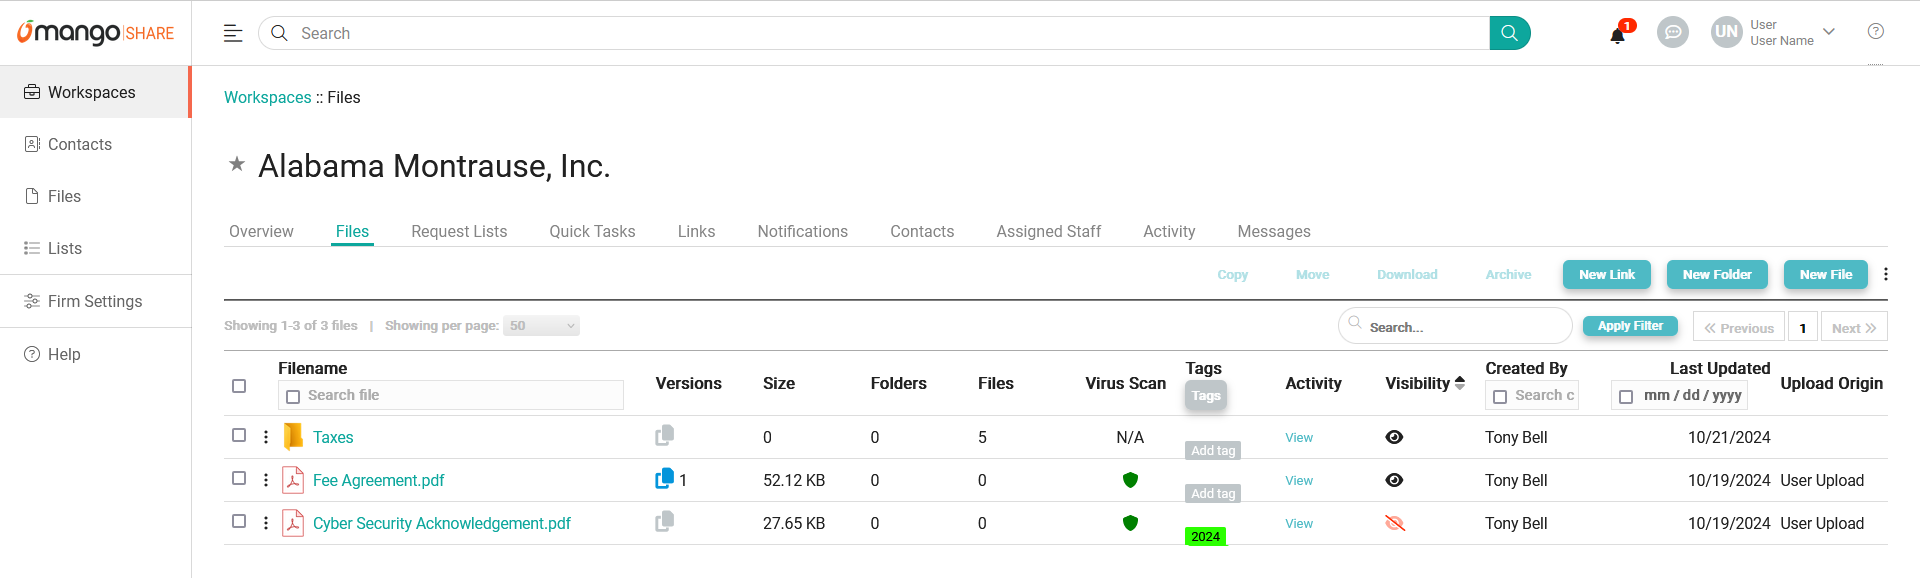
Files
The Files tab shows a list of files and folders for the current client.
Additional information about using the files list and working with individual files and folders can be found in the Files Overview article.
Request Lists
The Request Lists tab shows a list of reusable file link requests assigned to the client.

Additional information about creating Request Lists can be found in the Request Lists article. Information about sending file links, including using Request Lists, can be found in the Overview of File Links article.
Quick Tasks
The Quick Tasks tab displays a list of file links sent to a client, including the status of each.

By default, only active links are displayed. Click the View Archive link to display inactive links. Click View All to return to the list of active links.
Additional information about using file links, including the Quick Tasks, can be found in the Overview of File Links article.
Links
The Links tab displays settings for file links sent to the client. To make changes, click the Edit button. When done, click the Update button.

The following settings are available.
- Expire Share File Links Automatically after (Days) – Specify the number of days before a file link created via Send Files expires automatically. If the link should not automatically expire, set this value to 0 (zero) or blank.
- Expire Request File Links Automatically after (Days) – Specify the number of days before a file link created via Request Files expires automatically. If the link should not automatically expire, set this value to 0 (zero) or blank.
- Expire Signature Request Links Automatically after (Days) – Specify the number of days before a file link created via Request Signature expires automatically. If the link should not automatically expire, set this value to 0 (zero) or blank.
Additional information about creating file links can be found in the Overview of File Links article.
Notifications
The Notifications tab displays settings for notifications to contacts and staff for the client.
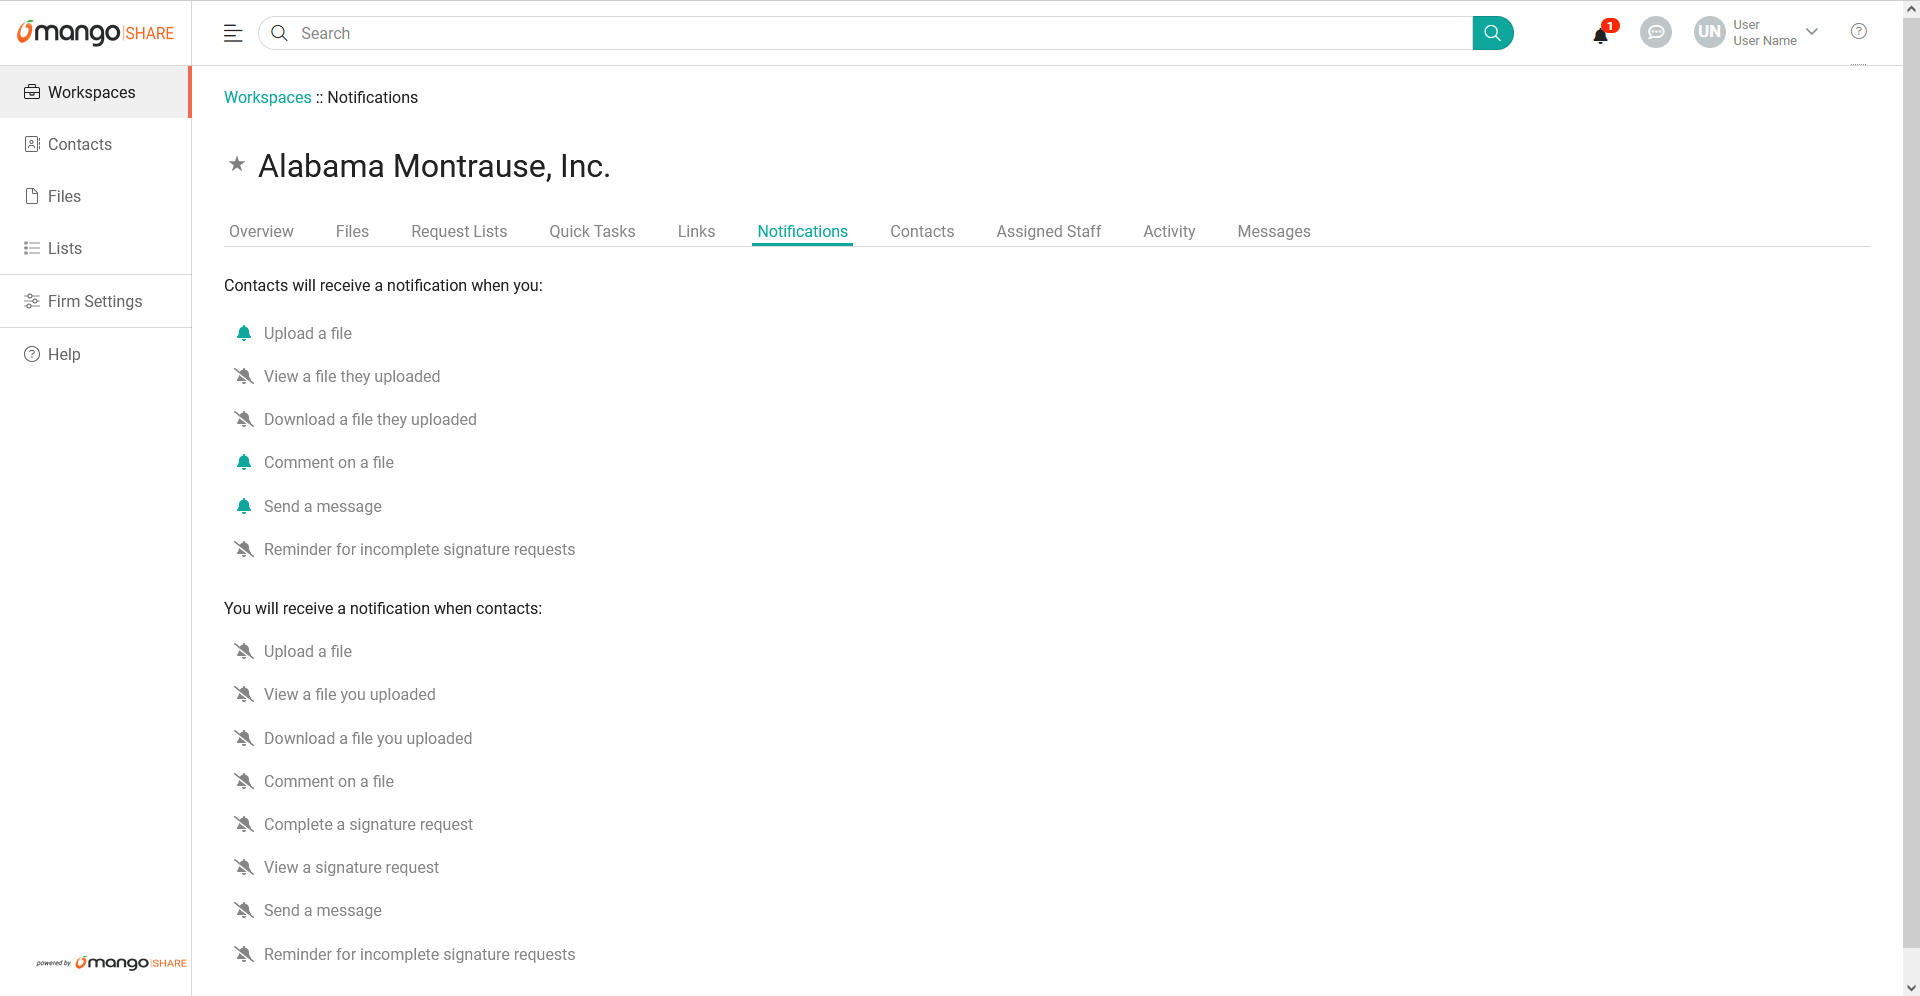
Optionally toggle notifications for contacts and staff by clicking the bell icon. An enabled bell (![]() ) indicates that a notification will be sent, and a disabled bell (
) indicates that a notification will be sent, and a disabled bell (![]() ) indicates no notification will be sent. For additional information about notifications, see the Global Search & Navigation article.
) indicates no notification will be sent. For additional information about notifications, see the Global Search & Navigation article.
See It in Action
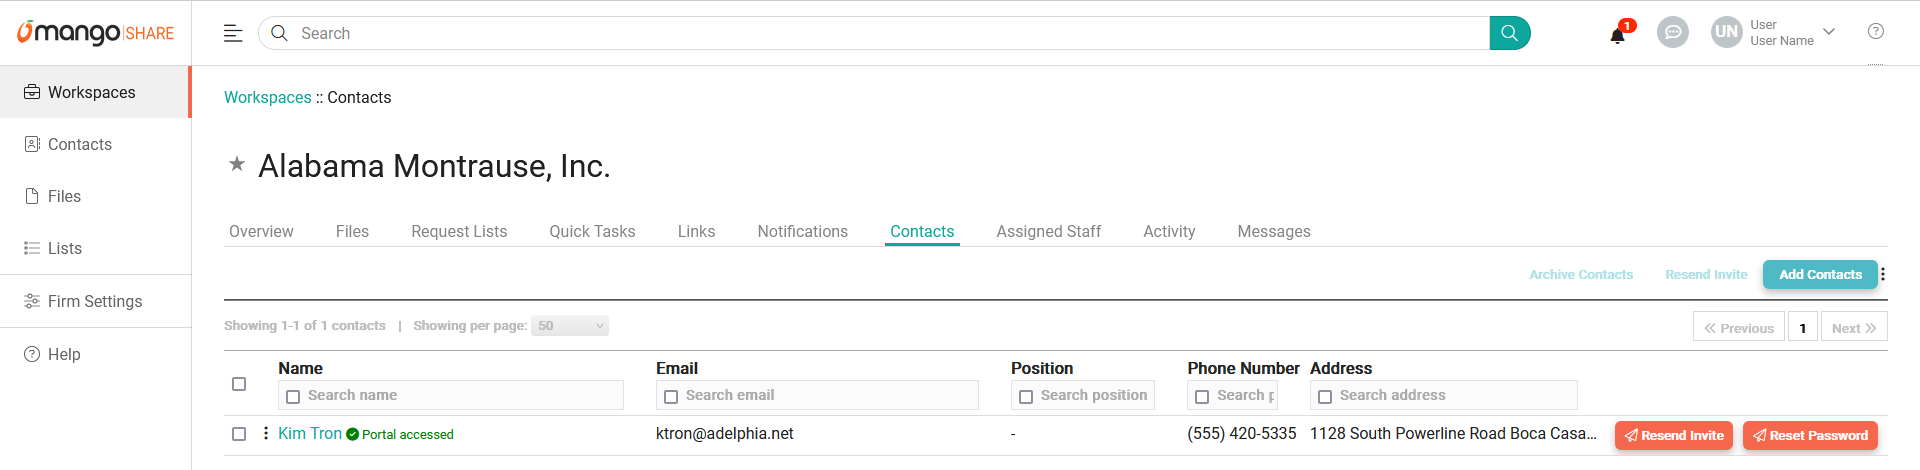
Contacts
The Contacts tab displays a list of contacts associated with the client. Contacts can be used to send file links, or can be invited to the portal.
Additional information can be found in the Contacts article. Information about creating file links can be found in the Overview of File Links article. Information about accessing and using the portal can be found in the Portal article.
Assigned Staff
The Assigned Staff tab displays a list of staff members associated with the client. Staff members who do not have Owner permissions can only see workspaces to which they are assigned.

Click Assign staff members to select one or more staff members to assign to the client. Additional information can be found in the Assigned Staff article. Information about adding staff can be found in the Staff Members article.
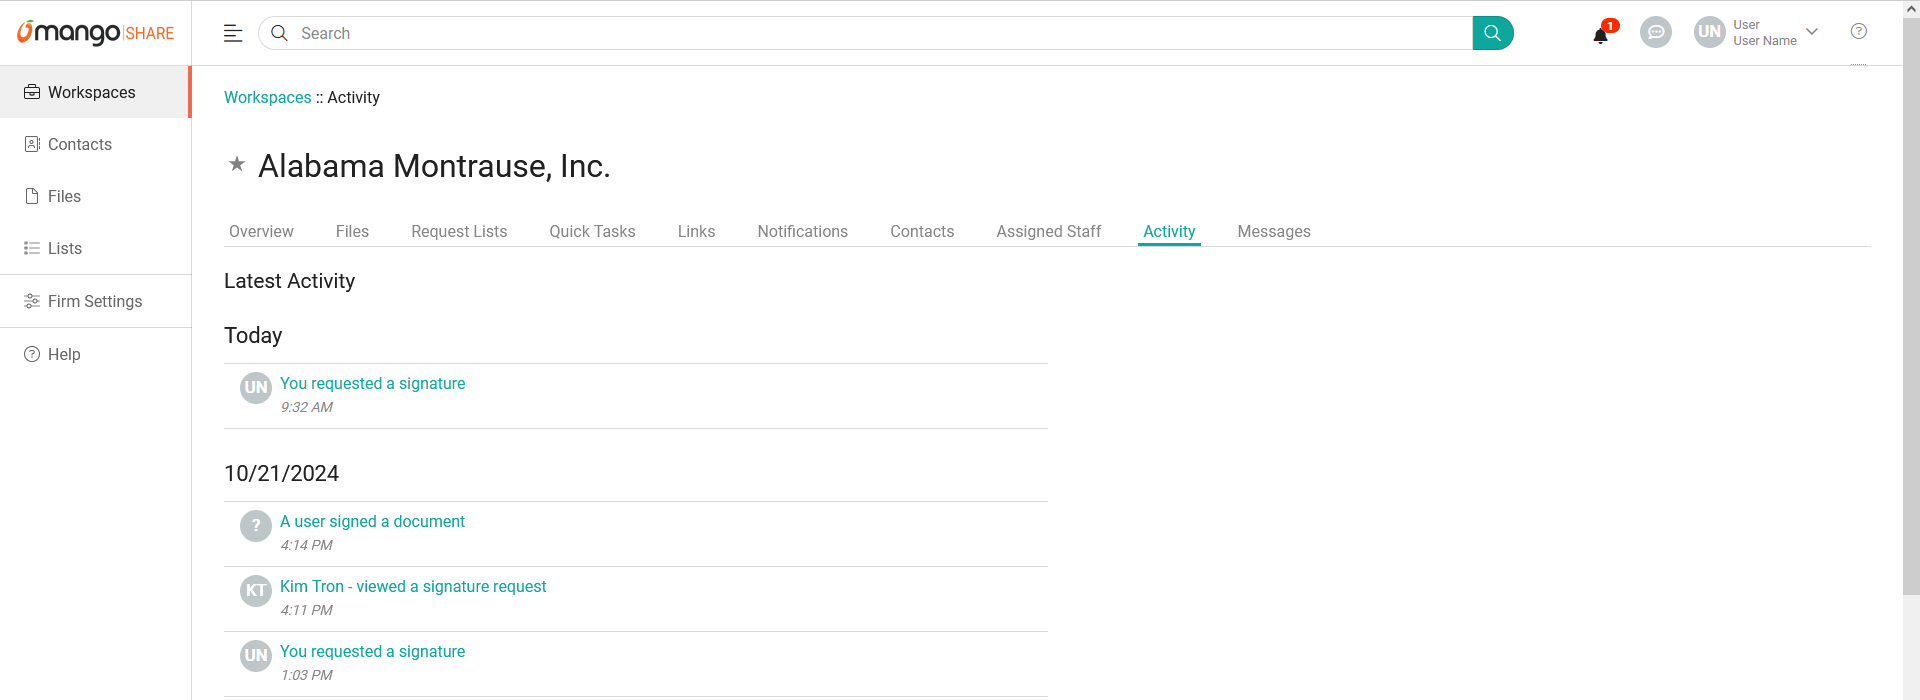
Activity
The Activity tab shows a list of activity for the client, including when file links are sent, when links are accessed, logins to the portal, and more.
See It in Action
Messages
The Messages tab allows you to send a message to the current client, as well as shows a list of recent messages sent to or received from the client.
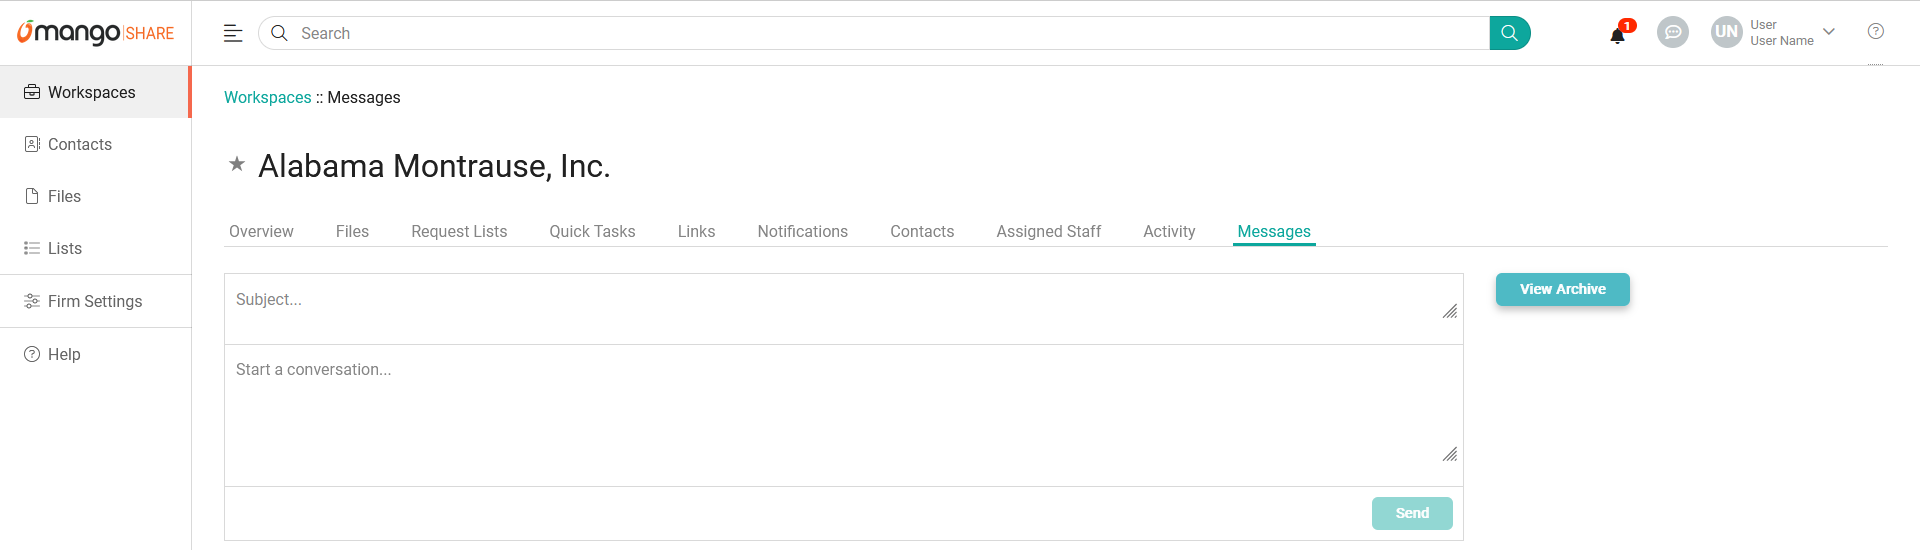
To see additional messages, click the View Archive button. To return to the main list, click View Messages. Additional information about messages can be found in the Messages and Client Messages List articles.
To send a message
- Specify a Subject.
- Enter the Conversation
- Click Send.
The client will receive an email notification, and can view the message in the portal.
See It in Action
Learn More
The following knowledge base articles contain additional information relating to Client Workspaces: